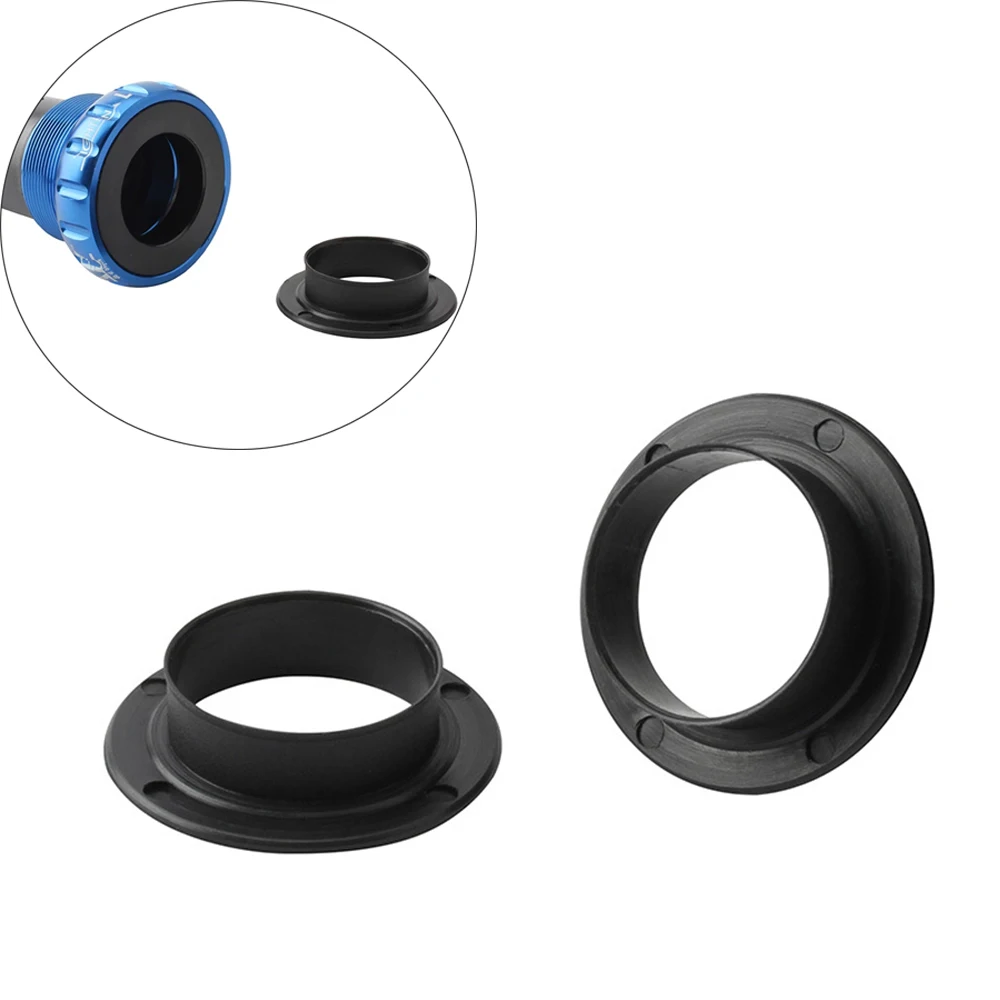
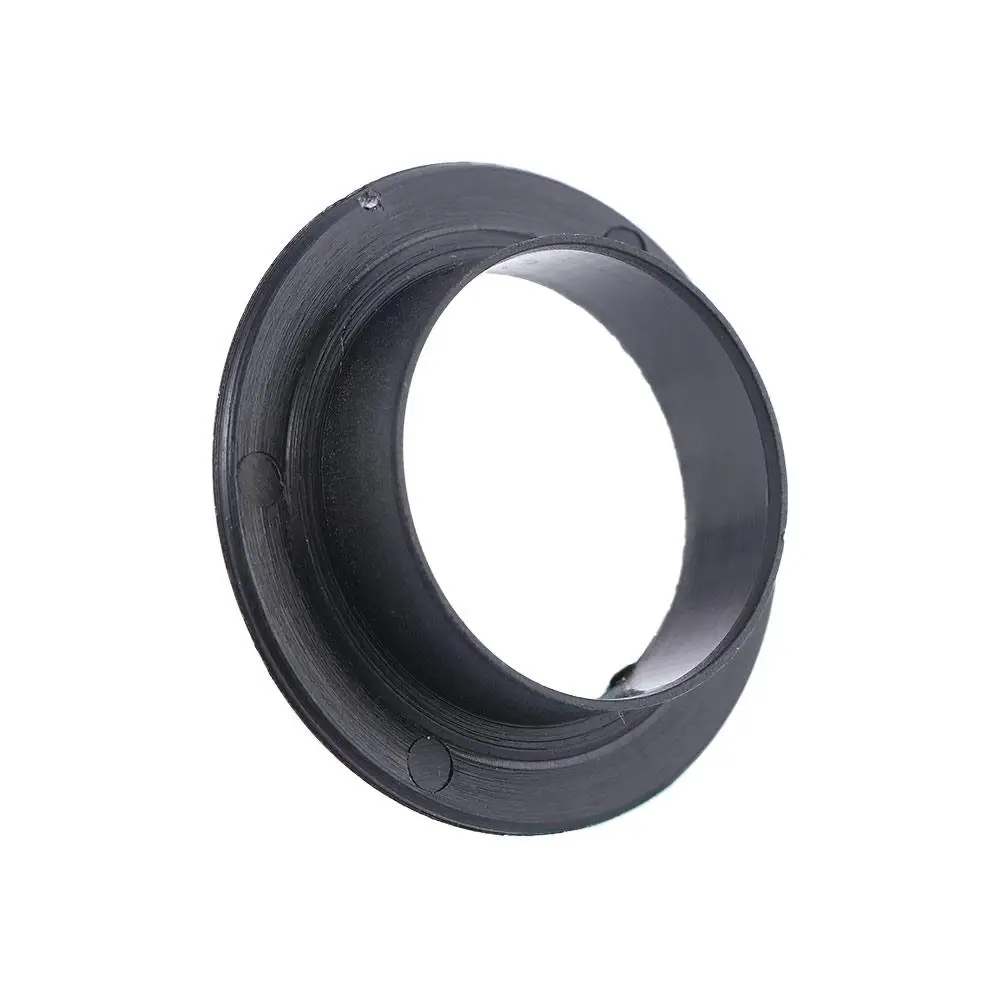

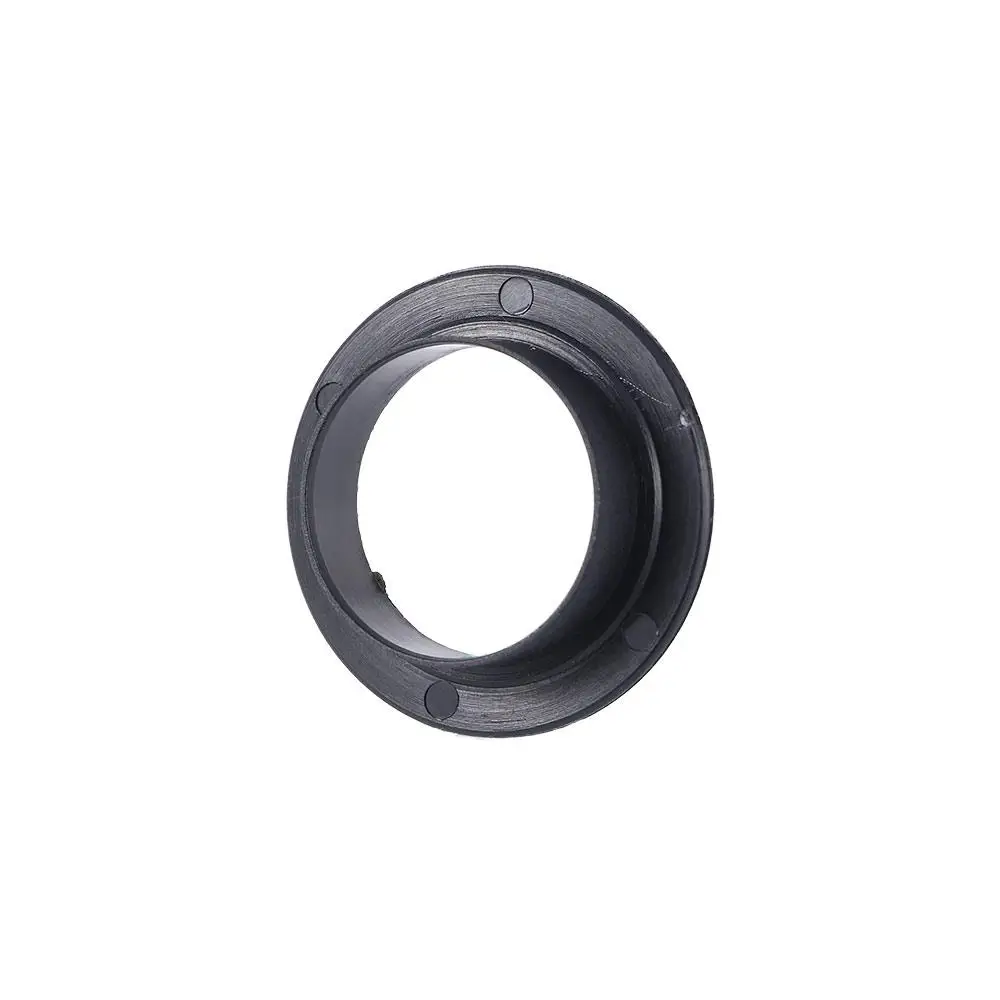

Descripción
Nombre: Cubierta protectora del rodamiento inferior Color negro Material: plástico de ingeniería Peso: 1,4 g par Lista de embalaje: 2 uds. Cubierta protectora del soporte inferior Especificaciones: Adecuado para rodamientos con un diámetro interior de 25 mm y cigüeñales con un diámetro exterior de 24 mm. Función: Resistente al agua y al polvo para mejorar la vida útil del rodamiento. Debido a que es un diseño de hebilla, se debe presionar suavemente en la posición del 70% durante la instalación, y el resto del lugar se presiona suavemente con un destornillador u otras herramientas hasta que la hebilla esté completamente dentro del rodamiento, y luego se presiona completamente. en el rodamiento. Cuando escuche un clic, la instalación se realizó correctamente. Recordatorio importante: No presione toda la fuerza directamente, esto dañará la cubierta protectora. Muchos ciclistas reemplazan los nuevos rodamientos y provocan que la cubierta antipolvo original se dañe y no se pueda instalar. Este puede ser un buen reemplazo. No se necesitan herramientas. Presiónelo manualmente para instalarlo. Es muy conveniente. Una vez bloqueada la manivela, no se aflojará. Un eje necesita dos. Pasos de instalación: 1. Primero coloque el 80% de la cubierta del pedalier en el medio del rodamiento. 2. Sostenga el costado de la cubierta del pedalier con un destornillador y presione suavemente la cubierta del pedalier con la mano, para que la parte restante pueda ingresar al rodamiento sin problemas. 3. Después de que todos los pasos hayan ingresado al orificio del rodamiento, presione uniformemente con las manos hasta que se complete la instalación. 4. La instalación está completa
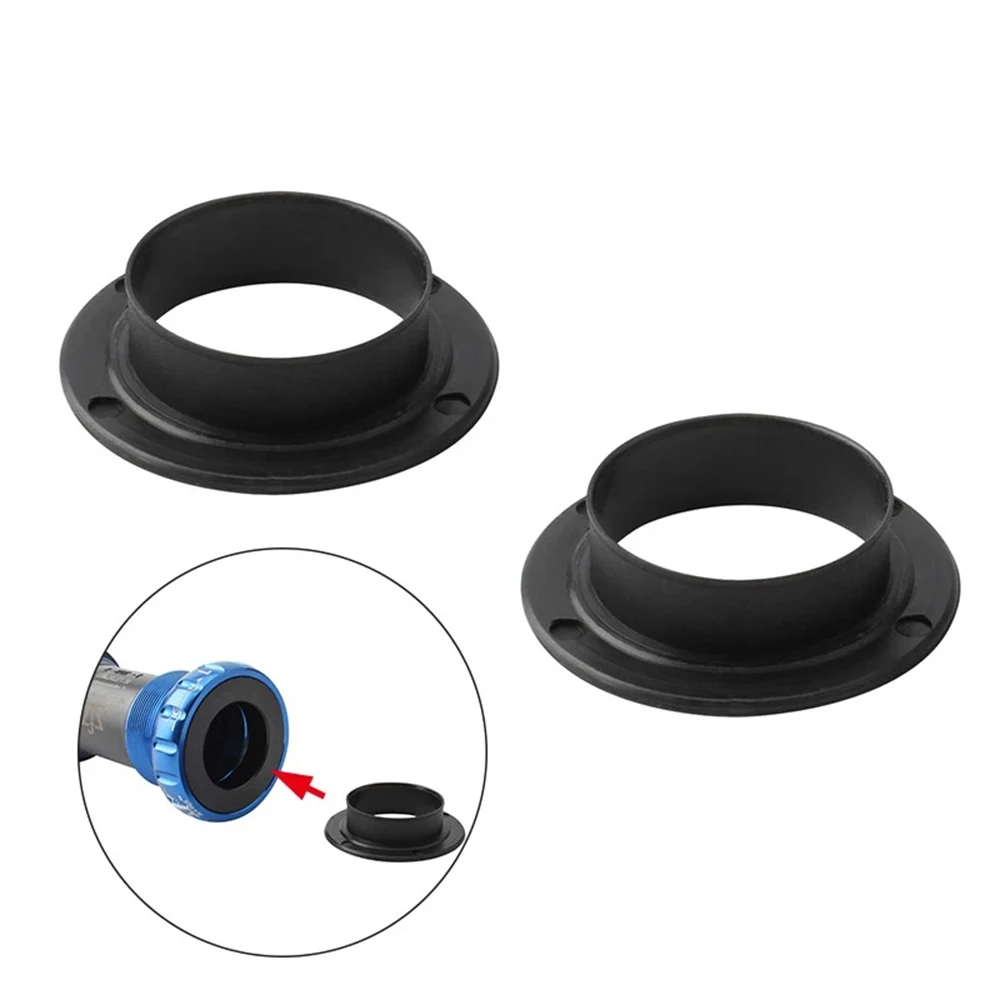
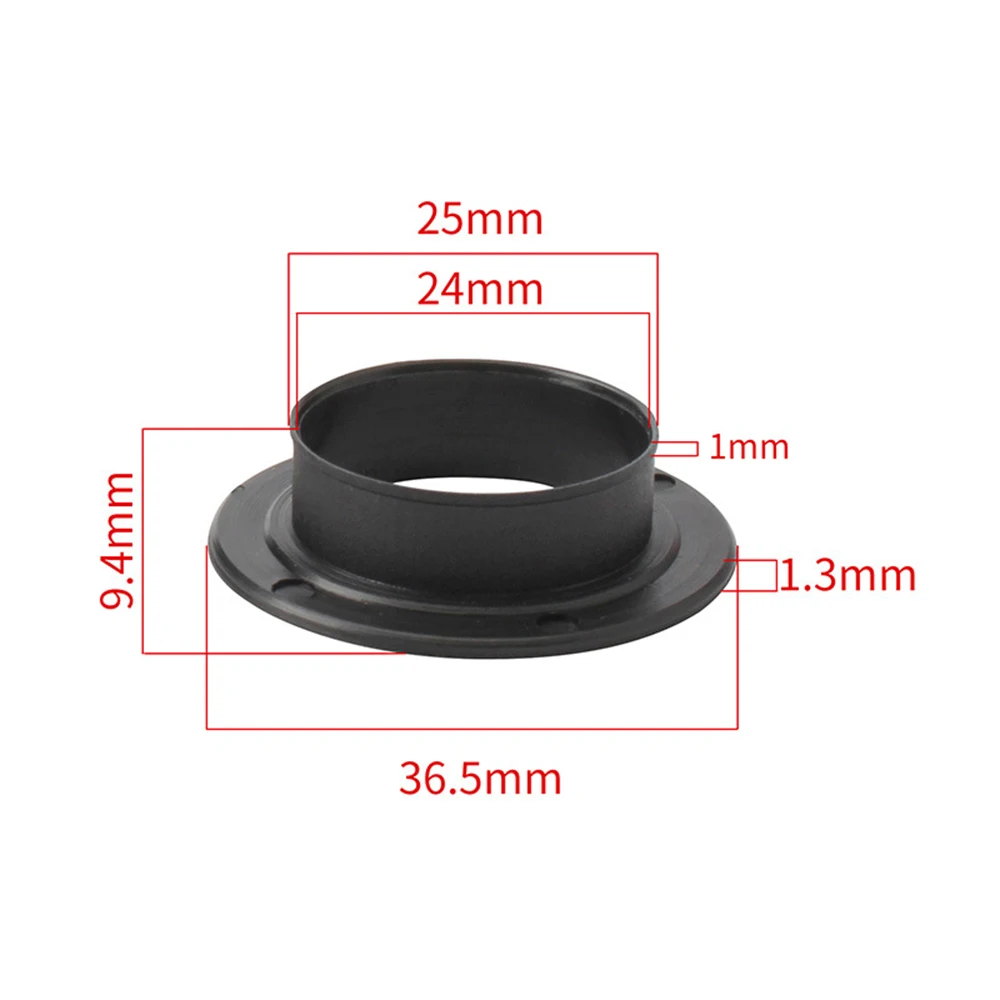
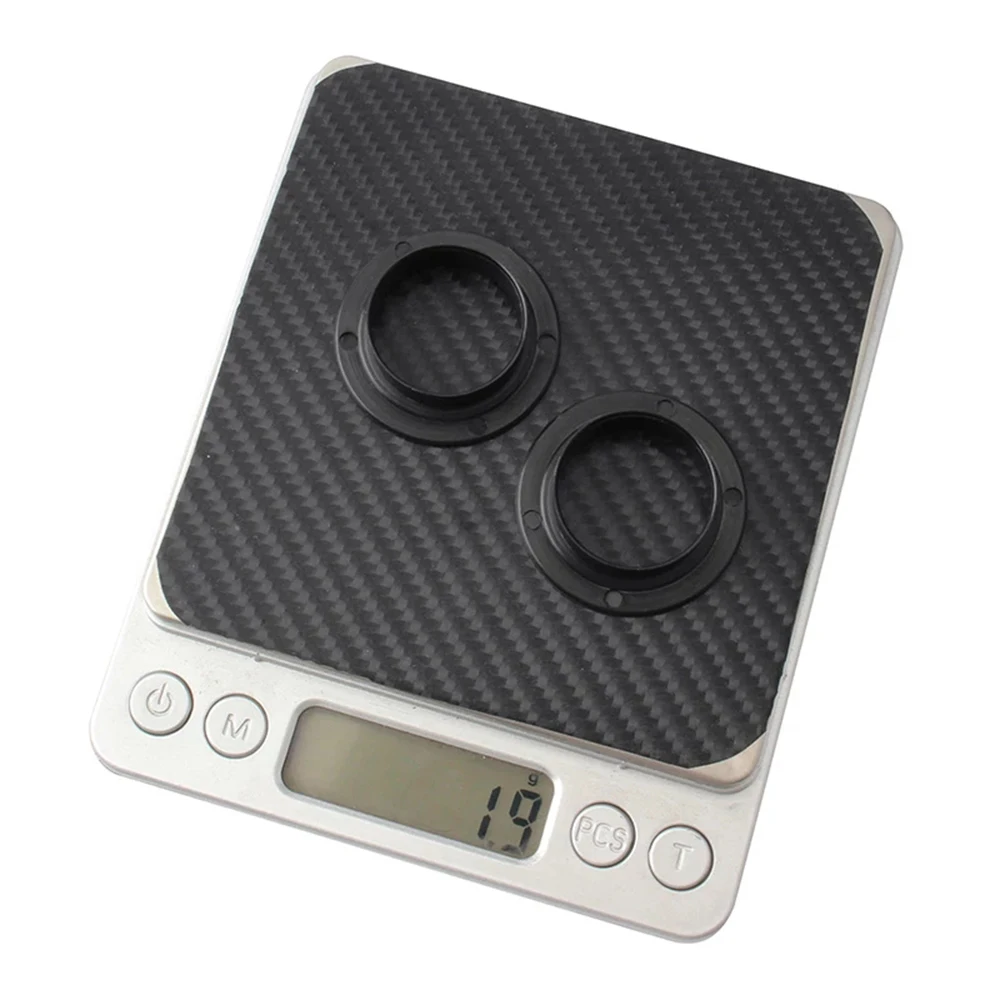
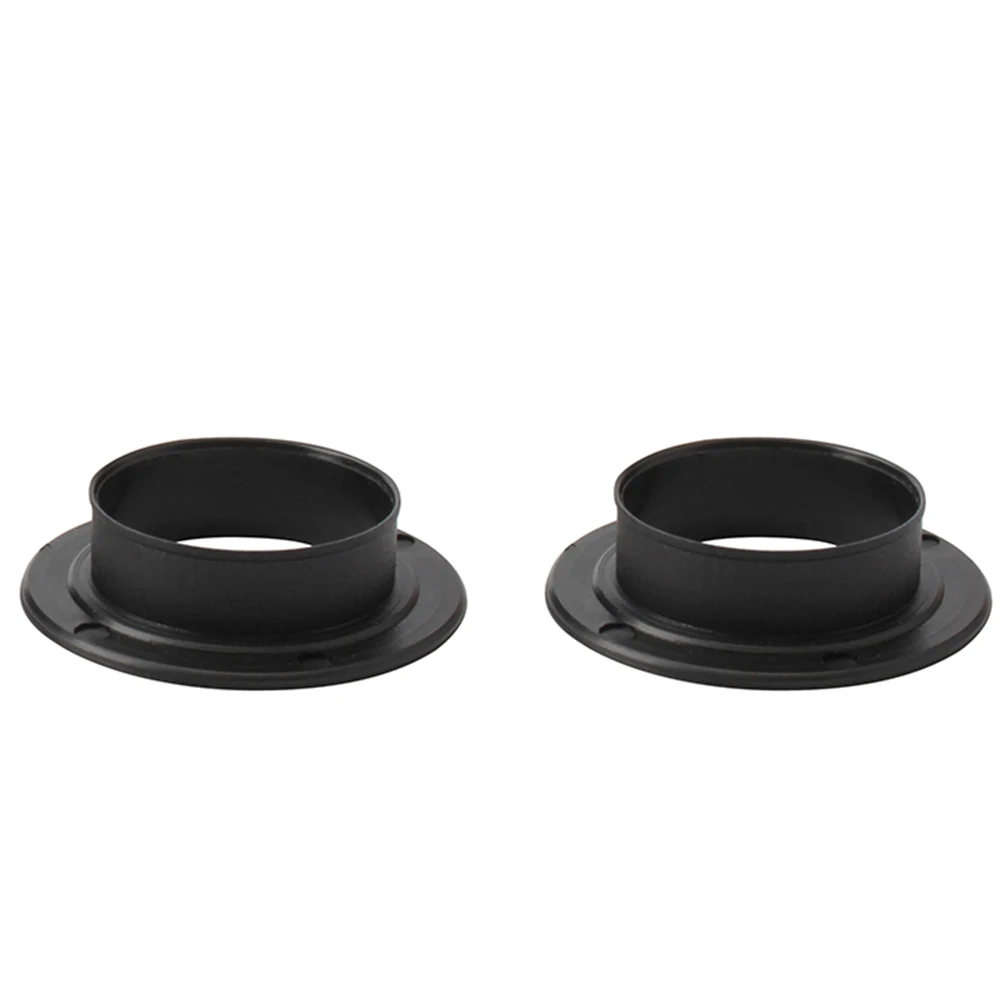
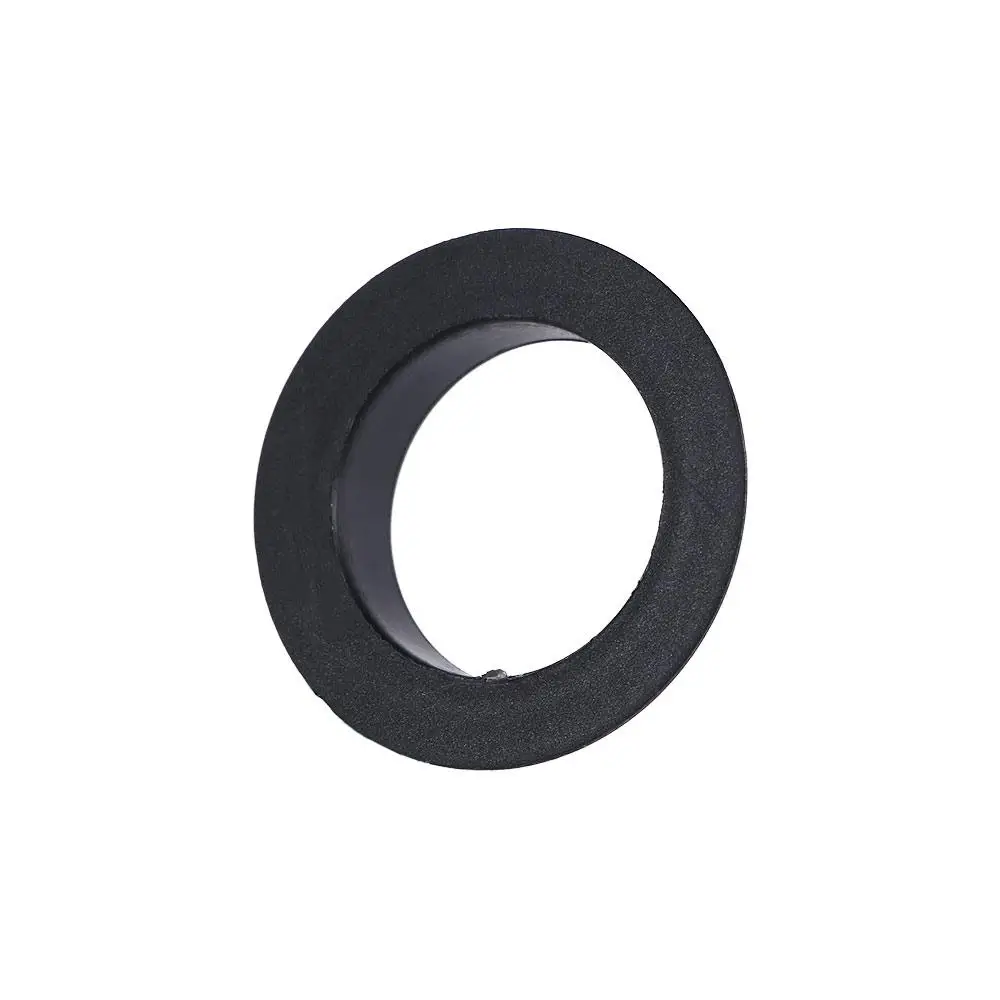
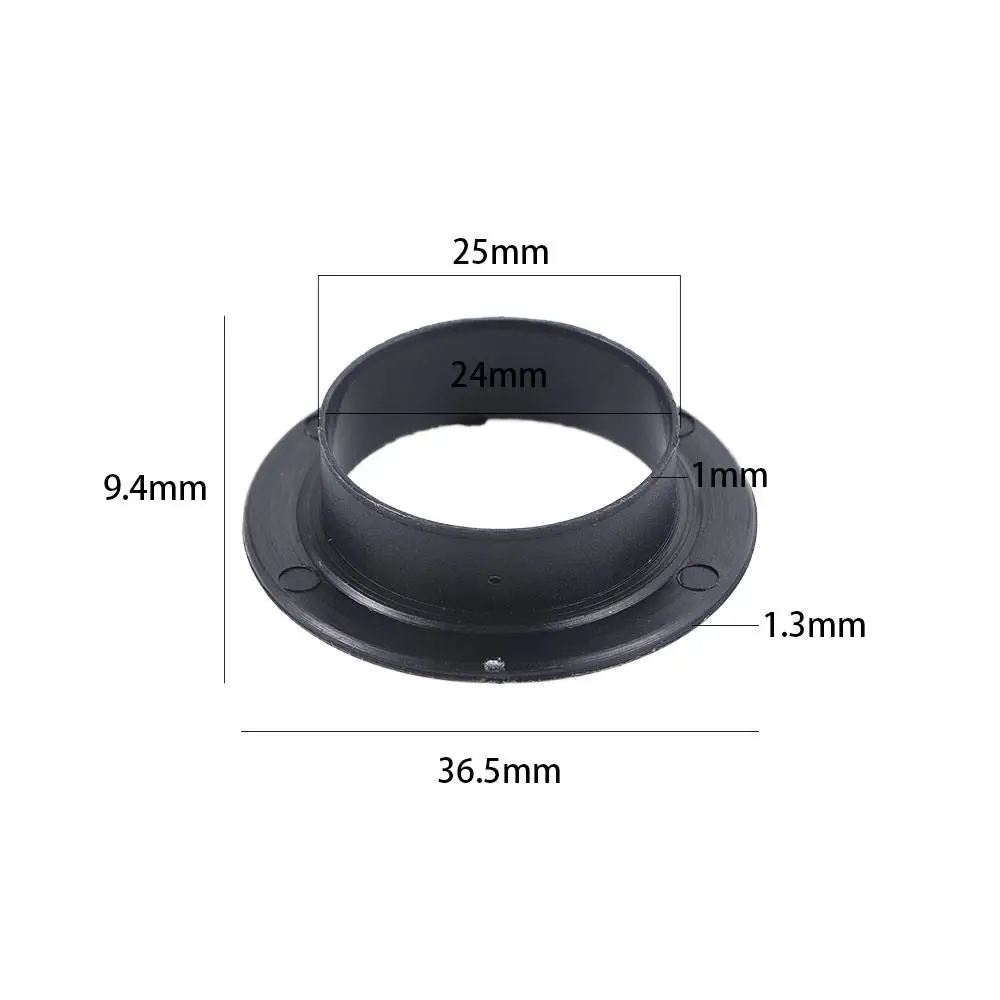
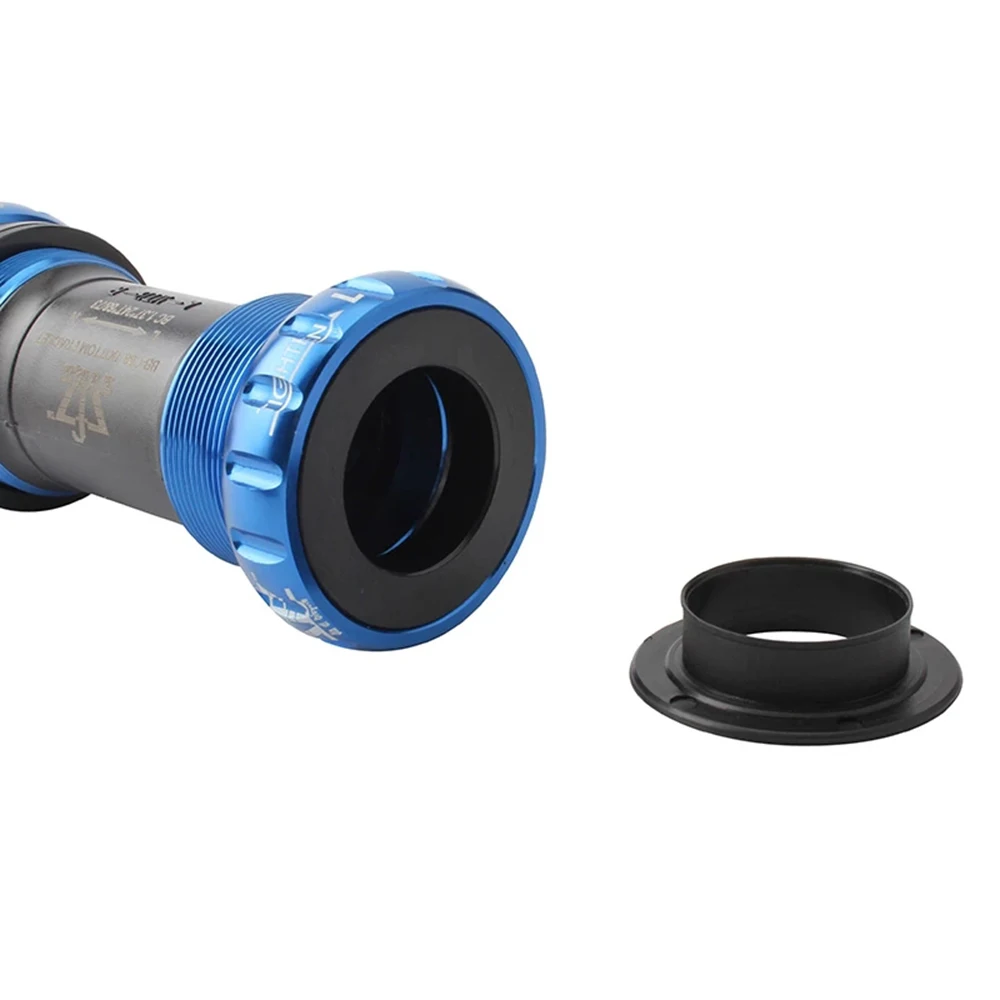
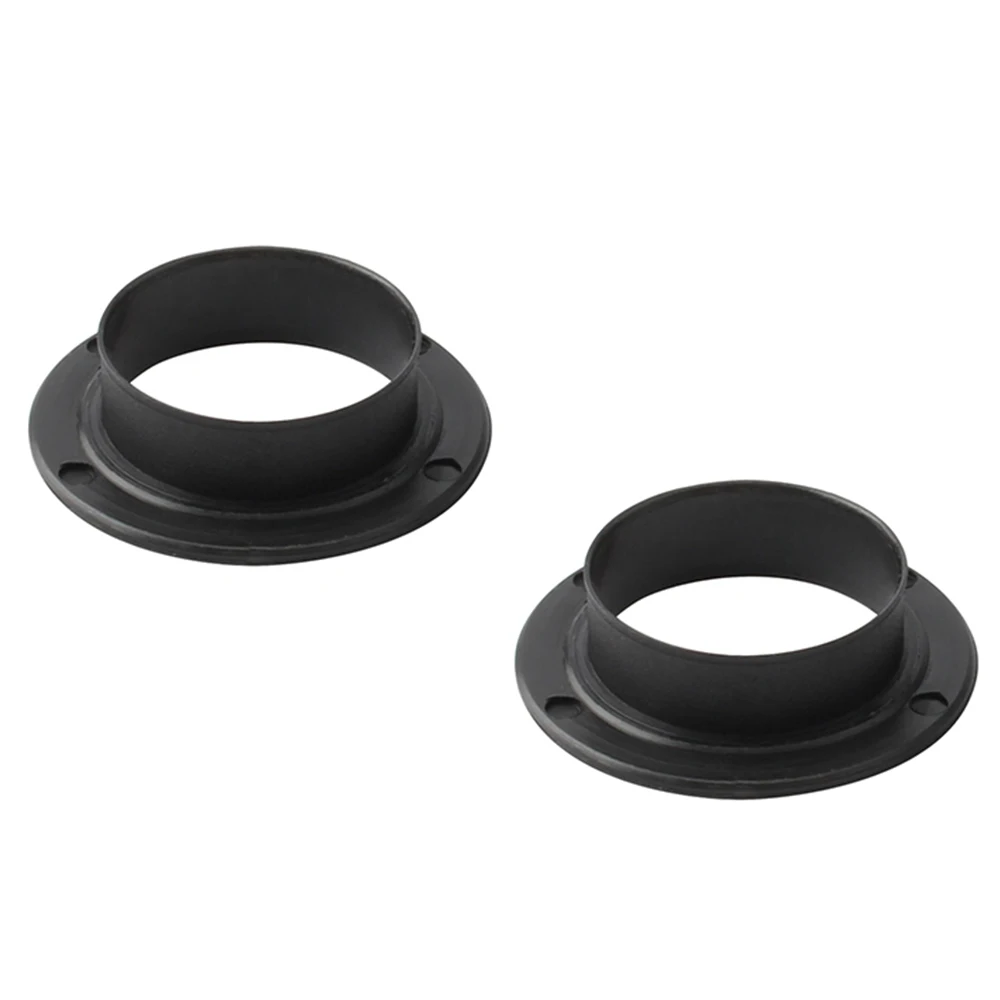
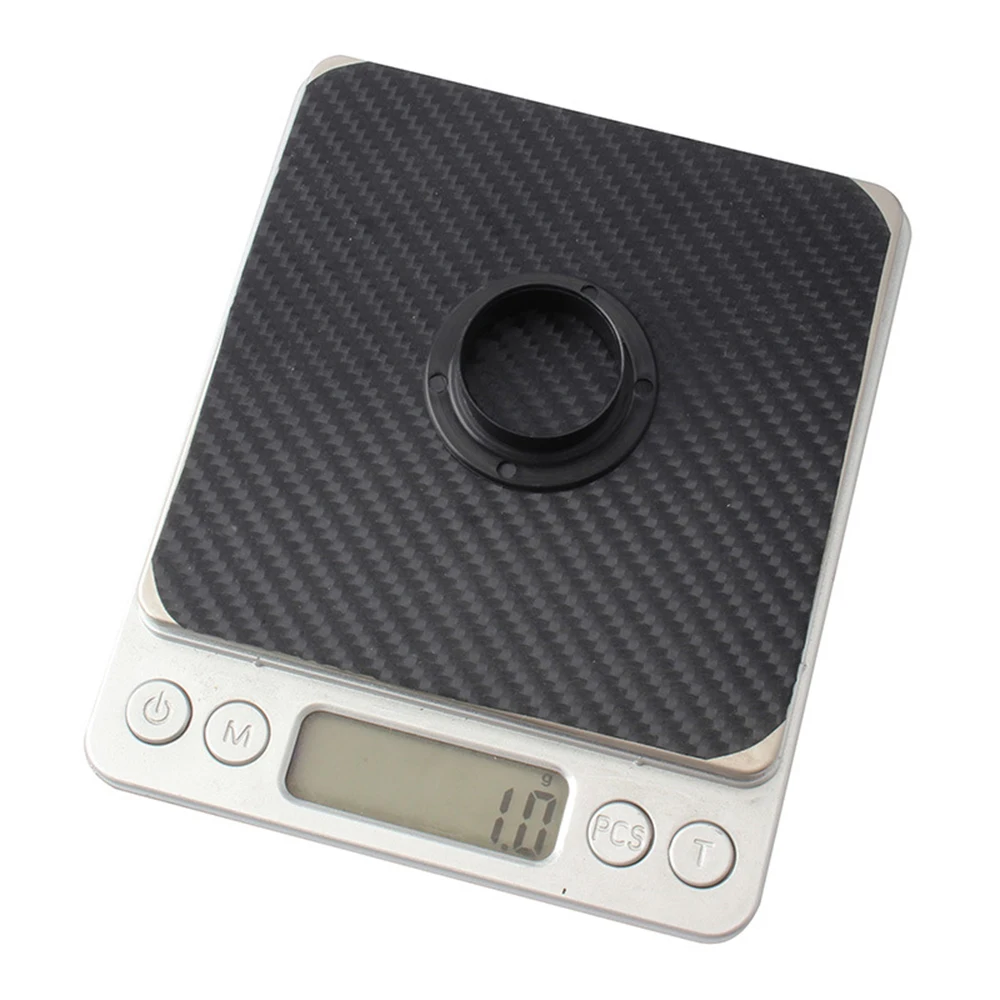
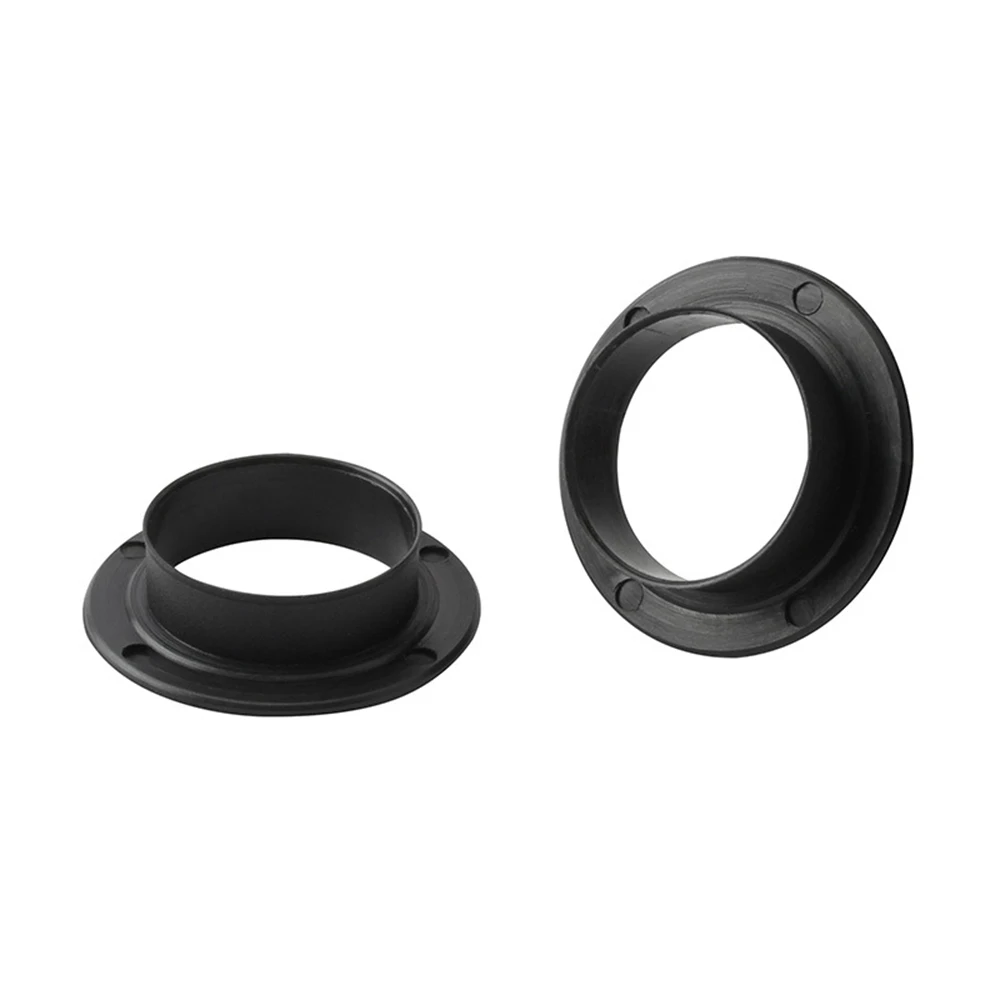
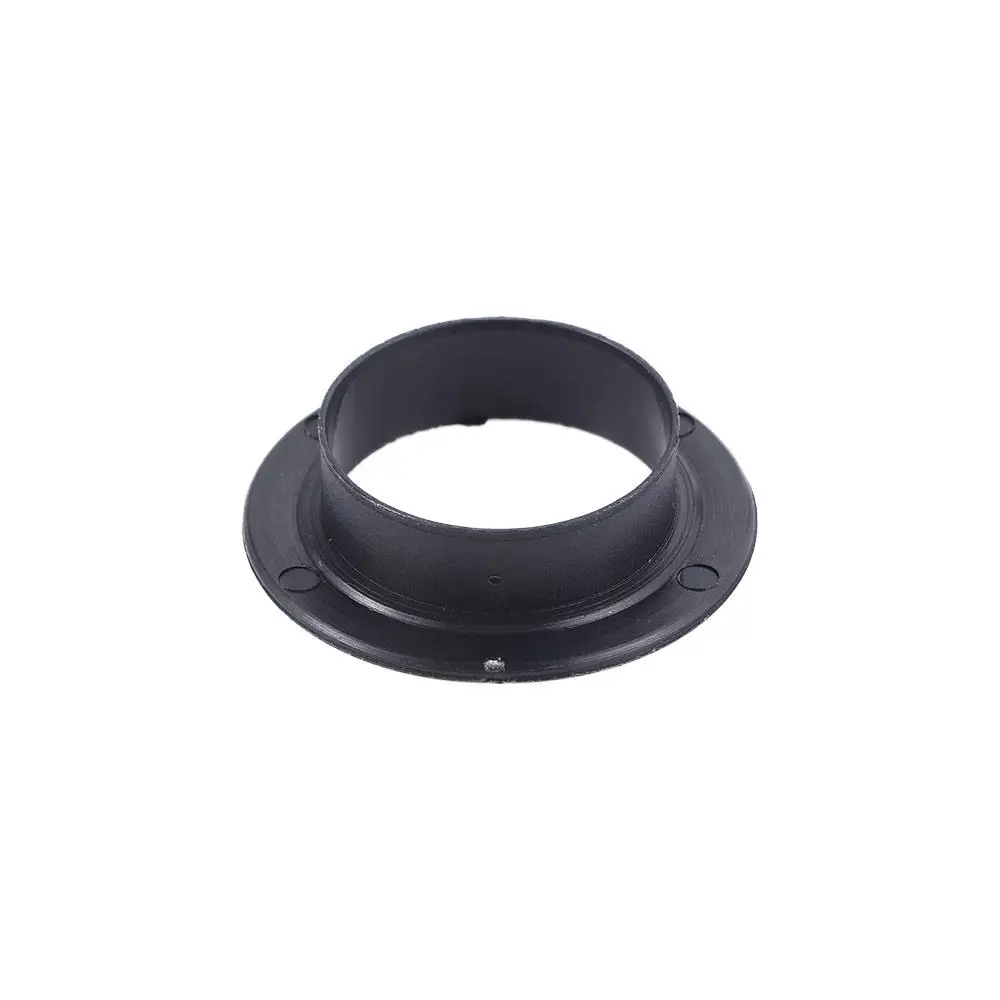
Name: Bottom bearing protection cover Color: Black Material: Engineering Plastic Weight: 1.4g pair Packing list: 2pcs Bottom Bracket Protective Cover Specifications: Suitable for bearings with an inner diameter of 25MM and crank shafts with an outer diameter of 24MM. Function: Waterproof and dustproof to improve bearing life Because it is a buckle design, it must be gently pressed into the 70% position during installation, and the rest of the place is gently pressed with a screwdriver or other tools until the buckle is completely inside the bearing, and then it is fully pressed into the bearing. When you hear a click, the installation is successful. Important reminder: Do not press all the force directly, this will cause damage to the protective cover. Many riders replace the new bearings and cause the original dust cover to be damaged and cannot be installed. This can be a good replacement. No tools are needed. Manually press it to install it. It is very convenient. After the crank is locked, there will be no loosening. One axis needs two. Installation Steps: 1. Put 80% of the bottom bracket cover in the middle of the bearing first 2. Hold the side of the bottom bracket cover with a screwdriver and gently press the bottom bracket cover with your hand, so that the remaining part can enter the bearing smoothly. 3. After all the steps have entered the bearing bore, press evenly with your hands until the installation is complete 4. Installation is complete